Pages

Showing posts with label Crafts. Show all posts

Tuesday, May 14, 2013

Colorful Dry Erase Calendar

Here is another craft I did for my freshman dorm room!  In order to keep track of what was going on in the month, I made this very colorful calendar.  This is  very simple project and you can use left over items you have around the house.  It is made out of a picture frame and can be used with any dry-erase markers.


Materials:

  • Scrapbook Paper
  • Picture Frame
    • I bought a 8.5 by 11 inch frame, but any size will work.  Choose a good size to fit the space you want to put it.
  • Sharpie/Pen
  • Scissors
  • Glue Stick
  • Ruler


Since my frame was the size of a piece of paper, I used white cardstock paper for the base.  I gave myself a little over an inch for the month section and another 3/4 inch for the days of the weeks.  Since my length was 11 inches, I simply divided 11 by 7 to get the length of each of the boxes.  I cut out seven .75 inch by 1.57 inch boxes and wrote the first letter of the day of the week on them.  I also wrote "Month:" on scrapbook paper and cut around that and glued it onto the base.

I then measured the remaining space for the day boxes and calculated the size of each of the boxes.  After cutting one of the boxes in the desired scrapbook paper to the right size, I used that box as a template for the rest of the boxes, to save time of measuring.  I cut 35 different boxes for the days out of my random scrapbook paper.  Once all of the boxes were cut, I arranged them on the base.  I changed them around several times so I can get similar patterns and colors more spread out.  After they were arranged the way I liked, I glued them down, starting with the bottom row and going up.

As you can see from the pictures, the rectangles are not perfect.  There is some white space between the rectangles and not all are perfectly aligned.  This is not at all noticeable when looking at it far away, I have found.


After it was done, I hung it on my wall in my dorm.  Here is a picture of it, fully written on in December next to my white board, reminding me to keep calm right around finals since it is almost Christmas break.  I absolutely love how the calendar turned out, and I got several compliments on it throughout the year.  You can write on it with the same dry erase markers and it comes off just as easy.


Monday, May 13, 2013

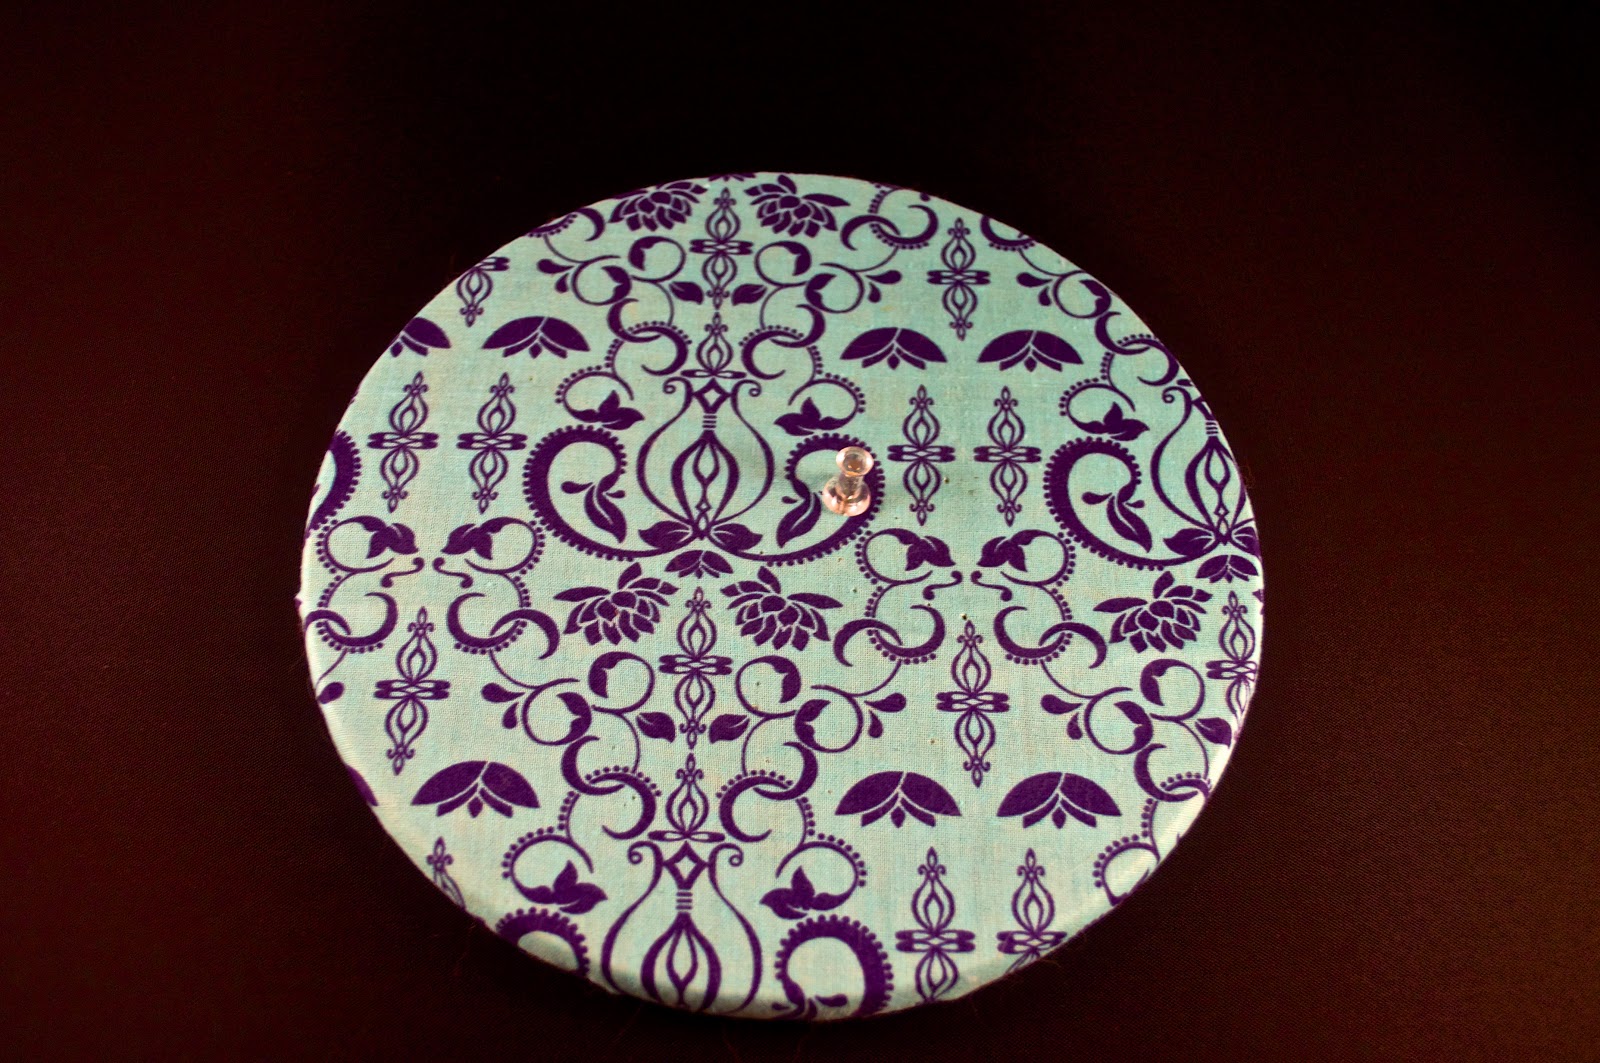
Round Fabric Covered Cork Board

I made this round fabric-covered cork board for my dorm room wall to hang notes and photos.  This is a very cute and easy project and fully customizable.


Materials:

  • Round Cork Trivet
    • I bought mine from Amazon.  It was called "Linden Sweden Jonas of Sweden Round Cork Trivet, 8-Inch."  Any size will work.
  • Enough Fabric to cover the front of the trivet size of your choice
  • Glue Gun
  • Command Strips


I laid the fabric face down on my working surface and placed the trivet down on the fabric.  I cut around the fabric so there was about an inch and a half excess around the trivet.  After heating up the glue gun, I put glue on the back of the trivet around the edge.  I then stretched the fabric and pressed it into the glue until it stuck and continued around the rest of the trivet.


I made it before moving into my freshman dorm room.  Here is a picture of my dorm room wall with the cork board hanged.  I used command strips to attach it to the wall.


Sunday, May 12, 2013

Tipsy Stacked Flower Pots

Welcome to "The Creative Dabbler."  I have many creative interests including crafts, cooking, and photography.  This blog will be a mix of all my interests.  My first post is about what I made for my mother this year for Mother's Day.  This project took approximately 3 hours and is very straightforward.  My finished product is just an example, and you can customize it as much as you want.  You can change the color and design of the pots, the size of the pots, the flowers, number of stacked pots, etc.

Materials:
  • 1 8" TerraCotta Pot
  • 5 6" TerraCotta Pots
  • Plants
  • 6' Rebar
  • Spray Paint Primer
  • Spray Paint
  • Potting Soil
  • Sledgehammer


Once I got all of the materials, I primed all of my pots.  I needed a can and a half of primer total.  I used the brand Rust-Oleum, so the amount of paint needed to fully cover might differ for other brands.  The Rust-Oleum spray paint did a good job, but not much better than any other brand I have used.  After the primer, I used the color Wildflower Blue by the same brand.  I ran out of the blue after just 4 pots, and decided to try something different for the last two.  I had some leftover gray spray paint from a previous project and sprayed a coating of that on the remaining pots.  I then took a sponge and the dipped it into the pool of blue paint under each of the blue pots and sponged it on to the gray pots.  I let the pots dry for a half an hour until they did not feel tacky.


I choose a spot for the pots and pounded my rebar into the soil with a sledgehammer.  If you decide to use different heights of pots, you will need to adjust the size of the rebar.  Make sure you have at least 2 feet of the rebar in the ground.  I got my rebar from Ace hardware.  They had a wide variety of heights, but if you cannot find the right size, you can buy a larger one and cut it down.


Once the base, the largest pot, is dry, slide it through the rebar through the pot's drainage hole.  Fill the pot with potting soil and water the soil down.  Add the next pot on and tilt it against the rebar.  Fill this pot with potting soil and water it down.  Continue adding pots, tilting them the opposite direction, supported by the edge of the previous pot and the rebar.  If there is extra rebar left at the top, pound it down with the sledge hammer until it is not visible anymore.


Once the pots are stacked, plant all of your flowers.  Finally, stand back and admire what you have created.